

SPEAKERS IN THE REAR TRIM
To get started on this one its very simple but kind of daunting.
To get started on this one its very simple but kind of daunting.
1. You have to pry the trim off the panel with a trim clip remover tool
(Or in my case a screwdriver cause i don't have my tools with me when im at home)

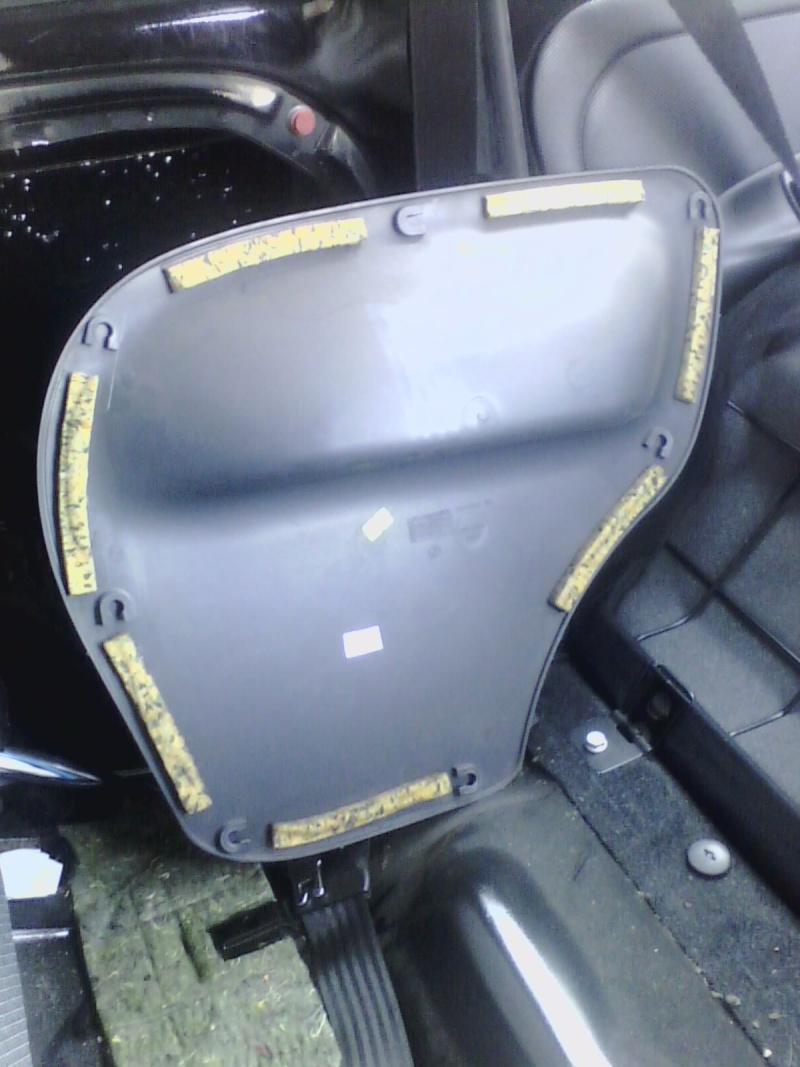
2. Lift the trim out without breaking any of the clips, but if you do don't worry cause you can buy them on ebay for pittance.
3. Clean the trim all over with a plastic degreaser. (Mainly cause the plastic gets covered in dust and oils from you and the surroundings)
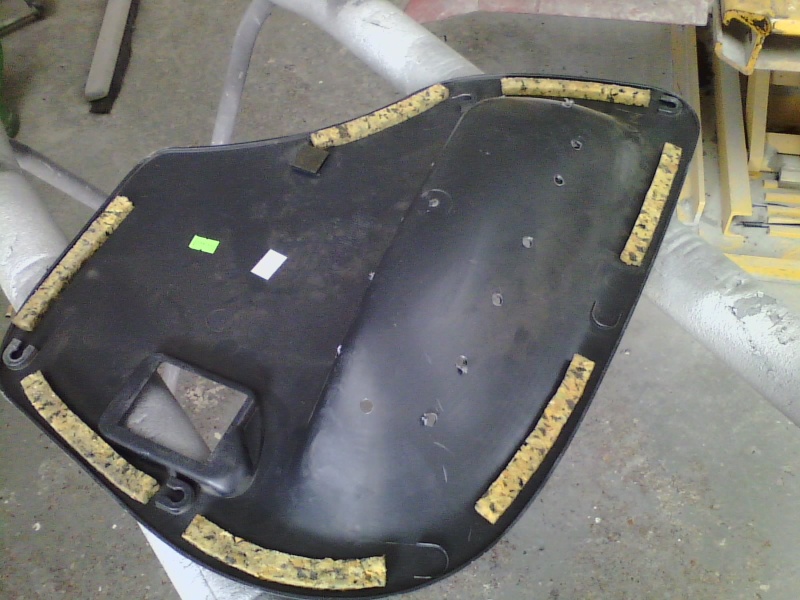
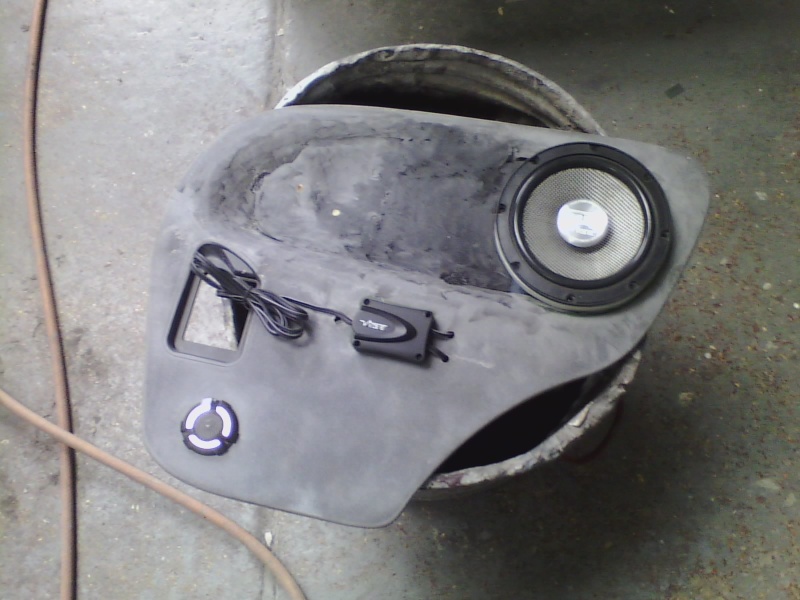
4. Line up where you want to place your speakers and components or whatever you want into place just to get a rough idea on what your doing. Of course i will be flushing the trim so all the speakers and what i plan to do with them sit sweet as a nut.(I have decided just to stick with a 8" woofer and some slick tweet's with the crossover on the front).


So the work begins.
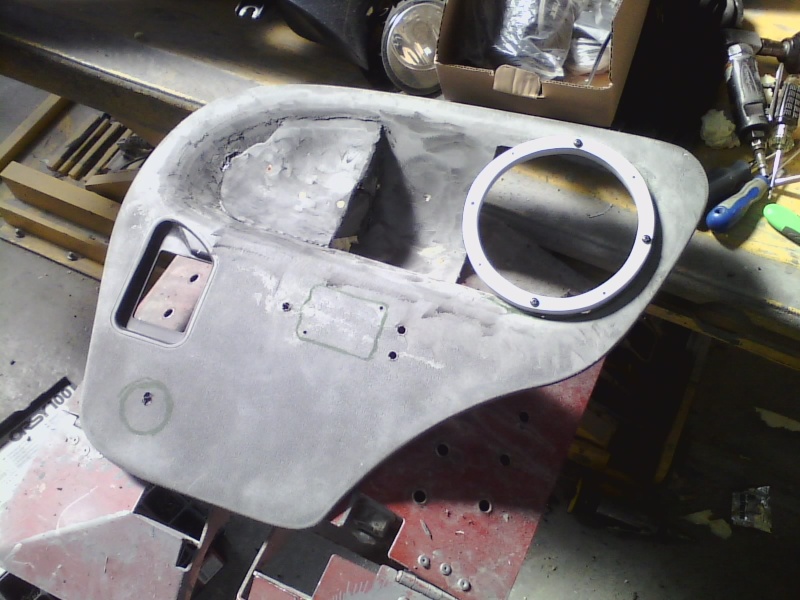
1. I started by drilling holes into the trim to aid adhesion to the plastic.

2. D/A'd the whole surface to also aid the adhesion over the plastic surface.
3. Removing all rough barbs from the plastic can be got off with either a blow gun (which i used, or even a rag covered in a plastic cleaner).


4. Filled up the hole in the trim to secure the area that i want to cover (Got this expanding foam from B&Q think it was like £10?)


5. Got these spacer rings done for me from the guys next door who fabricate plastics and wood work. These are done with a 9mm thick solid perspex. (So its not like the MDF, screw into it and watch it split more than likely).


6. After cutting out what i wanted from the expanding foam i could create a plastic enclosure making it suitable to fibreglass and make sure there will be no rattling.
7. As you can see from top and bottom images i have got hold off some old unused plastic (wheel arch liner) I just cut this to shape and plastic welded it together. The reason im doing it this way is because i want to keep the weight down, You start to add a lot more when it comes to fiberglass.

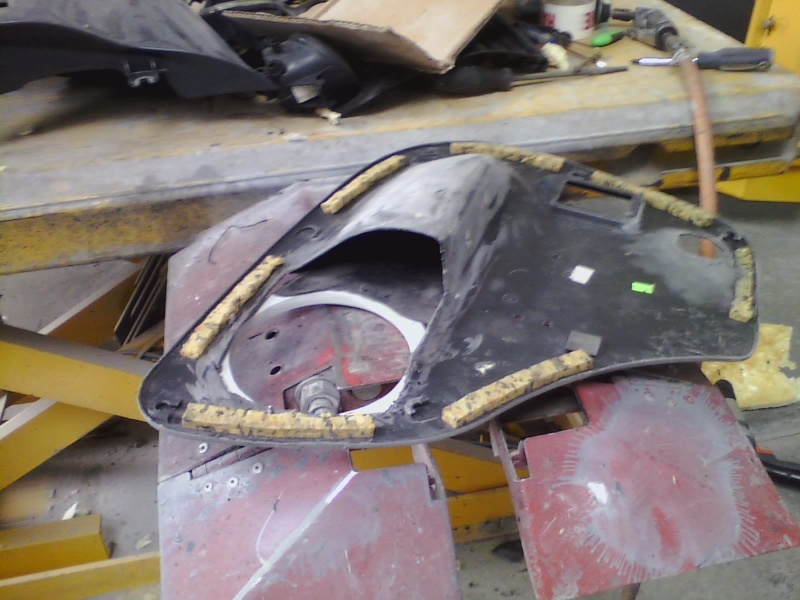

8. Some more plastic welding on the back of the trim to hold the foam into place (Unfortunately couldn't be bothered to weld everything up as i still got to shape the front with the fibreglass).
9. Basicly from the picy below you can see something of what im going for. There is a lot more to do on it though and unfortunately there is still one more left to do. LONG!

Once i got some more time off work i will go through the process that id prefer to take into more detail with obviously more photo's.
More Pictures to come shortly of finished product, one side done another one to go. YAY!

Bump
Last edited by ShadowSei on Tue Apr 19, 2011 11:46 pm; edited 2 times in total (Reason for editing : Update)
