

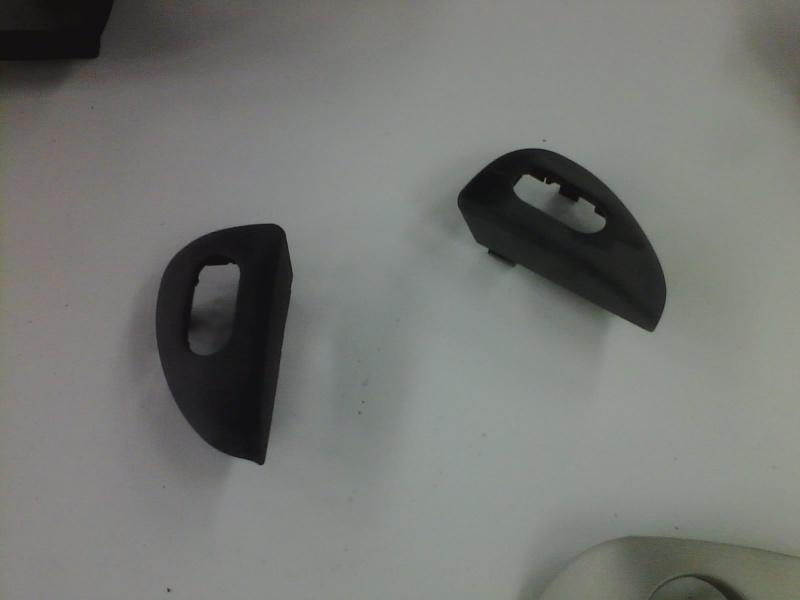
I will go step by step with how i completed this task of colour coding the interior parts.
Items needed to prep the bits:- PURPLE OR GOLD SCOTCH PAD (VERY/SUPER FINE)
- PANEL WIPE (PANEL DEGREASER)
- PLASTIC PRIMER
- COMPRESSOR AND SPRAY GUN (IF YOU DON'T HAVE ANY AN AEROSOL WOULD WORK... MAYBE?)
Other item's you may want to get hold of:
- 1500 w/d - 2000 w/d - Fine abrasive polish - High Definition Wax
STEP BY STEP GUIDE
- Start by scotching the plastic trim down all over and make sure to cover everywhere you want the paint to stick.
- Tape them down so they do not move when spraying them.
- Panel wipe them all over making sure there is no dirt on all the bits. (There are two types of dirt water-based and oil-based but panel wipe will only remove the oil-based dirt, so if you wish you can wash them in warm water before this step. NO SOAP!)
- Plastic prime all over only dusting it on you only need it to go tacky not to drown it in the primer.
- Wait 10mins before paint
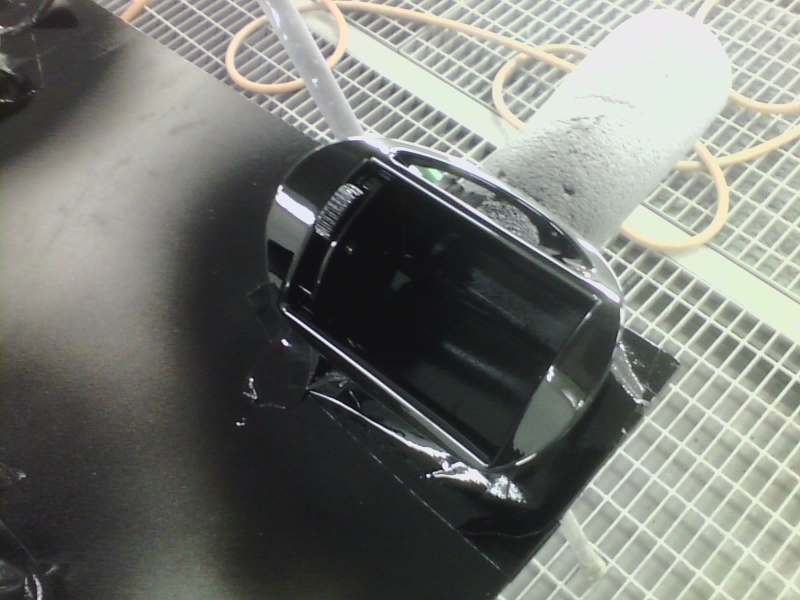
- Paint it with your base coat (1 dust coat, followed by 2 full coats)
- Allow to dry shouldn't be long 5-10mins
- Time to lacquer them now (1 dust coat, followed by 2-3 full coats)
- Allow to dry off in the booth oven for 45mins on a temp of 72°C or in case you don't have a booth oven leave it overnight in a warm room (24°c).
Once its dry and cooled off make sure there are no dirt nibs on the painted surfaces, if there is then you might want to get hold of some 1500-2000 silica carbide (Wet&dry sandpaper) Nib out the dirt and rub with some fine abrasive polish to bring back the shine.
Finally finish with a high definition wax to give a Great Shine.
SO TO BREAK IT DOWN - PREP


SO TO BREAK IT DOWN - BASE


SO TO BREAK IT DOWN - CLEAR

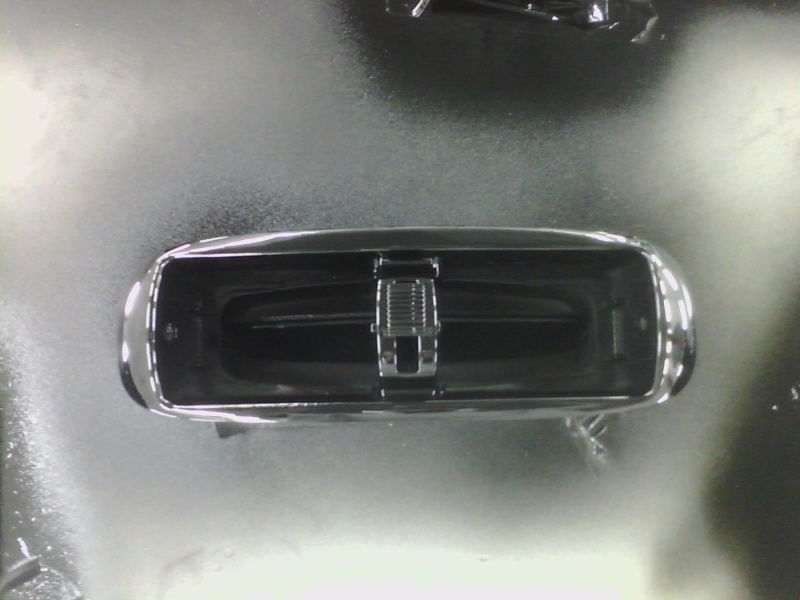

FINISHED PRODUCT


